Transforming your children’s bedrooms into enchanting spaces is easier than you think. With a touch of creativity and a splash of color, you can engage your kids in delightful DIY projects that will spark their imagination and ensure a playful yet cozy atmosphere. It’s a beautiful range that blends fun designs with practical application for any child’s room. Let’s dive into six super simple kids’ bedroom ideas that incorporate this delightful wallpaper collection and allow your kids to be part of the transformation.
1. Choose a Whimsical Feature Wall
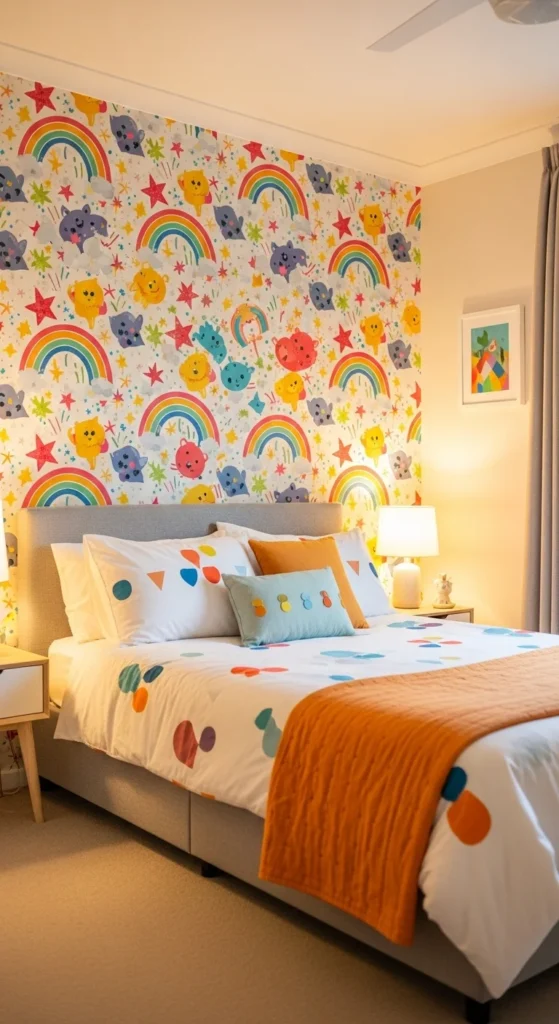
One of the simplest yet most effective ways to revamp your child’s bedroom is by creating a whimsical feature wall.
Steps to Create a Feature Wall:
- Pick a Wall: Choose a wall that acts as a focal point, such as the wall behind the bed or the wall opposite the door.
- Involve the Kids: Allow your little ones to pick their favorite wallpaper design. Getting their input not only makes them feel involved but also ensures they love the transformation.
- Measure and Cut: Measure the wall carefully and cut the wallpaper to size. This can be a simple measuring task that your kids can help with, teaching them some basic math skills!
- Glue and Position: Using wallpaper paste, apply it to the wall and press the wallpaper sections into place. You can even create a fun pattern by mixing and matching wallpaper designs from the collection.
This DIY project not only makes the room look stylish but also allows for a fun family activity. The end result? A unique space that reflects your child’s personality!
2. Create DIY Wall Art with Leftover Wallpaper
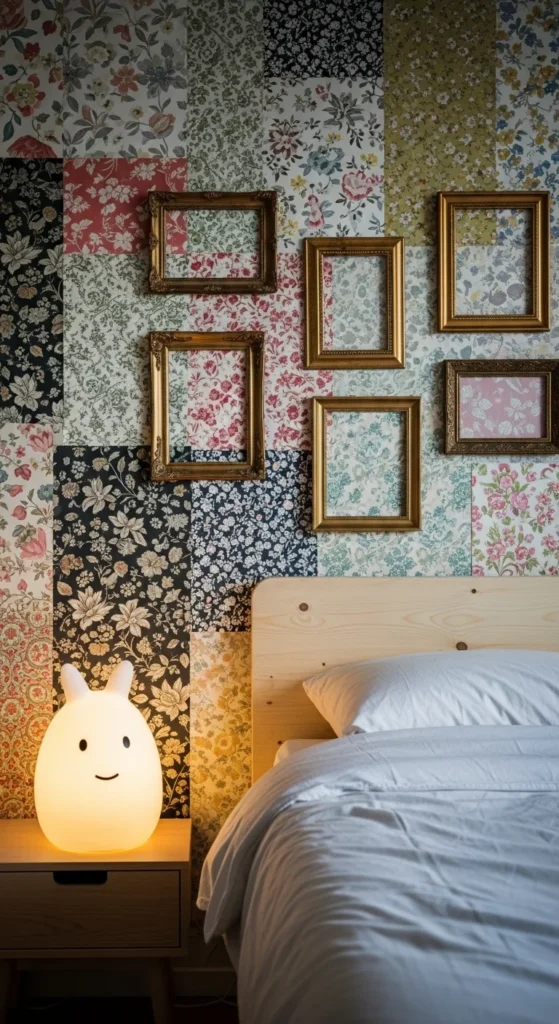
Once you’ve decorated your feature wall, you may have some leftover wallpaper. Don’t let it go to waste! Instead, turn those scraps into whimsical wall art pieces that enhance the overall look of the room.
How to Make DIY Wall Art:
- Select Frames: Raid your attic or local thrift shops for old frames that can be repurposed.
- Cut and Decorate: Cut pieces of wallpaper to fit inside the frames. Create several sizes and mix designs to create a gallery effect.
- Hang and Arrange: Use different arrangements to display the artwork, varying the heights and arrangements for added interest.
This project is another opportunity for your kids to express their artistic flair and customize their space further. Plus, it’s a fantastic way to reinforce the use of recycled materials!
3. Personalized Bookshelves
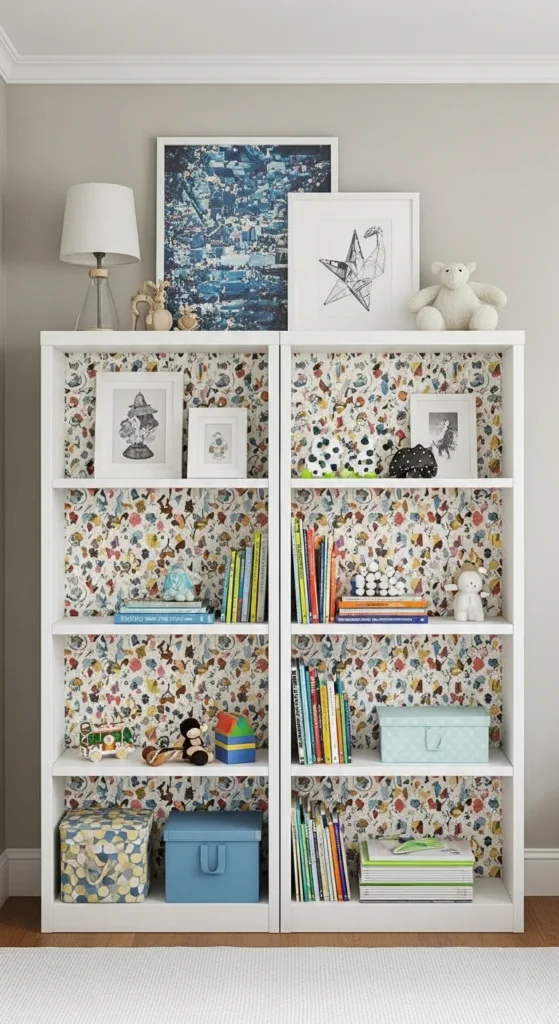
As your little ones grow, so do their collections of books and toys. Creating personalized bookshelves can be both functional and decorative.
Steps to Create Personalized Bookshelves:
- Choose or Build a Bookshelf: You can upcycle an old bookshelf or build a simple one together.
- Wallpaper the Back Panel: Apply the wallpaper to the back panel of the shelf using wallpaper paste. This hidden decorative touch will really stand out once the shelves are filled.
- Paint or Decorate the Shelves: Involve your kids by letting them paint the shelves or add their personal decorations.
- Organization Time: Help your kids organize their books and toys on their new shelves. You might even talk about categorizing by colors or themes, which can be educational!
This project not only beautifies the room but also instills a sense of responsibility in your children when it comes to organizing their belongings.
4. Fun and Functional Bedside Tables
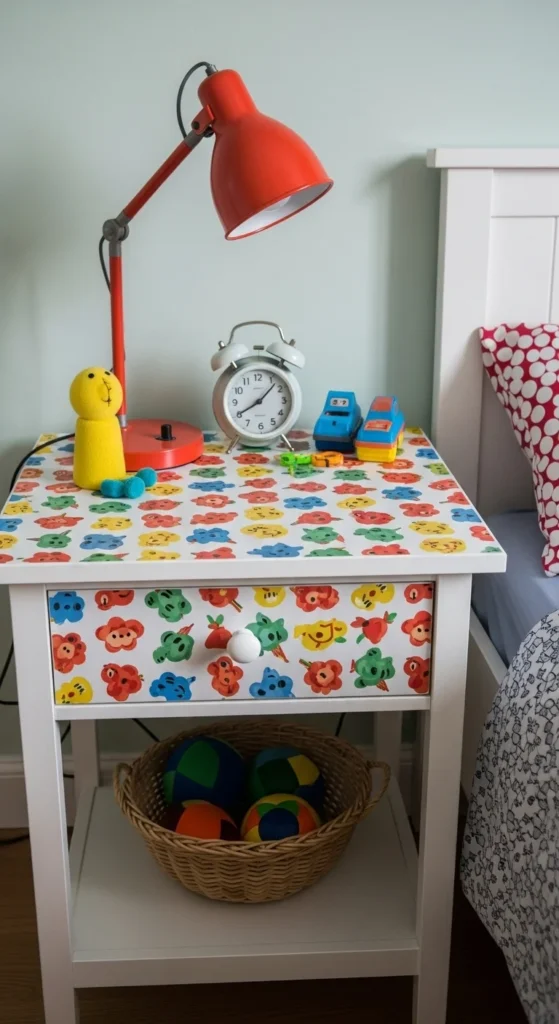
Every kid loves to have their own space to call home, and a bedside table can be a great addition to their room.
Creating a Fun Bedside Table:
- Select the Table: Use a small table or an old stool. If it’s worn out, a little DIY can bring it back to life!
- Wallpaper the Surface: Apply the wallpaper to the tabletop for a bright and cheerful look.
- Accessorize: Let your kids decorate the table with personal items, like family photos or their favorite knick-knacks.
- Incorporate Practicality: Include a small lamp, a clock, or storage solutions under the table for a practical touch.
By creating a personalized bedside table, you encourage your kids to embrace their independence while learning about organization and aesthetics at the same time.
5. Colorful Ceiling Decoration
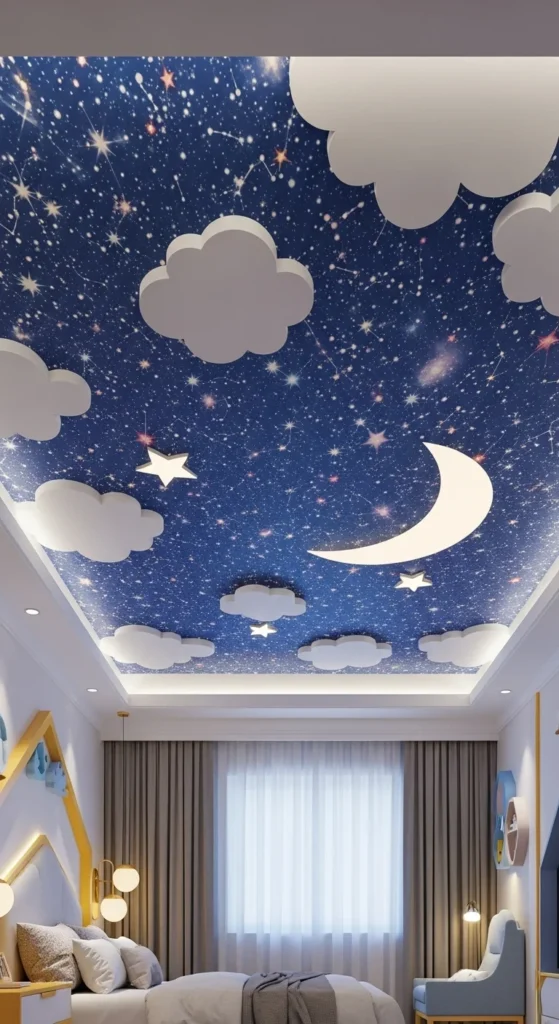
Why stop at the walls when you can also bring creativity up to the ceiling? A fun ceiling decoration can transform a room into a dreamy paradise, perfect for whimsical bedtime stories and imaginative dreams.
How to Create Colorful Ceiling Decorations:
- Choose a Theme: Use the various wallpapers to create different themes. For instance, if you’re considering a starry sky, you might want to choose dark wallpapers with bright stars.
- Install Wallpaper or Cut-Outs: If you use wallpaper, apply it to sections of the ceiling or use it to create exciting shapes like clouds or stars.
- Involve the Kids: Let your little ones help in deciding the layout. This project is not only engaging but allows them to dream up their fantasies.
This creative ceiling project can provoke discussions and storytelling, each time you look up into a magical world!
6. Creative Play Areas
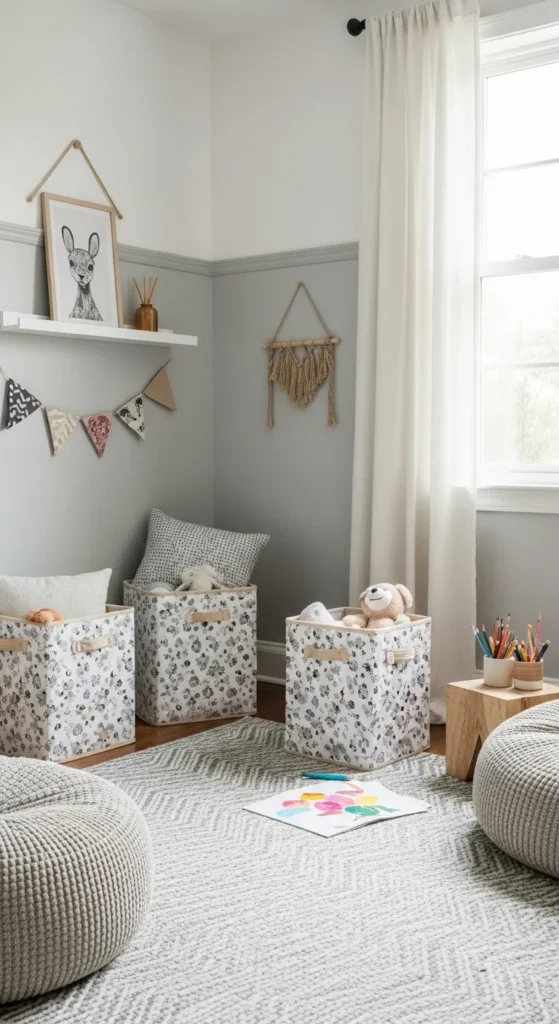
Lastly, transforming a corner of your child’s room into a playful nook can encourage creativity and provide a space for playtime. With Resene’s vibrant designs, it’s easy to create a customizable play area that fits your child’s interests.
Tips for a Creative Play Area:
- Define the Space: Use rugs or mats to define the play area, creating a soft boundary.
- Add Wallpaper Accents: Use leftover wallpaper to decorate storage boxes or even the walls adjacent to the play area.
- Fun Furniture: Incorporate small cushions or bean bags, which can create comfortable seating.
- Encourage Imagination: Include toys that stimulate creativity: books, art supplies, or even costumes!
This playful nook can serve as a safe haven where your children can let their imaginations run wild and indulge in their favorite activities.
Transforming your children’s rooms with these iseas is more than just a decorative task—it’s an opportunity to bond and create a personal space filled with love and creativity. Each of the six ideas outlined above can easily be adapted to fit your child’s interests and can be a great way to spend quality time together.
When you invite your kids into the decision-making process, you’re not only creating a beautiful environment but also fostering their own sense of style and creativity. So grab some paintbrushes, roll out the wallpaper, and let the adventure begin! Your children’s laughter and joy will be the perfect reward for your efforts. Happy decorating!